Behind the Scenes: Making Sawdust
- Jeff Burnett
- Aug 8, 2025
- 3 min read

Woodworking has been a part of my life for almost as far back as I can remember. Growing up, my dad always had a wood shop, and I eventually took up the craft myself. I came to enjoy the slow, methodical process of taking something rough and raw and turning it into something beautiful. In a way, it’s not unlike taxidermy.
Whenever I can, I put my woodworking skills to use making my own plaques. The process provides a nice change of pace for me, and my customers seem to appreciate the end result. So here’s another behind-the-scenes look at what I’m working on, a shoulder mount plaque I created with a little help from two other woodworkers in my family.
Step 1: Sourcing
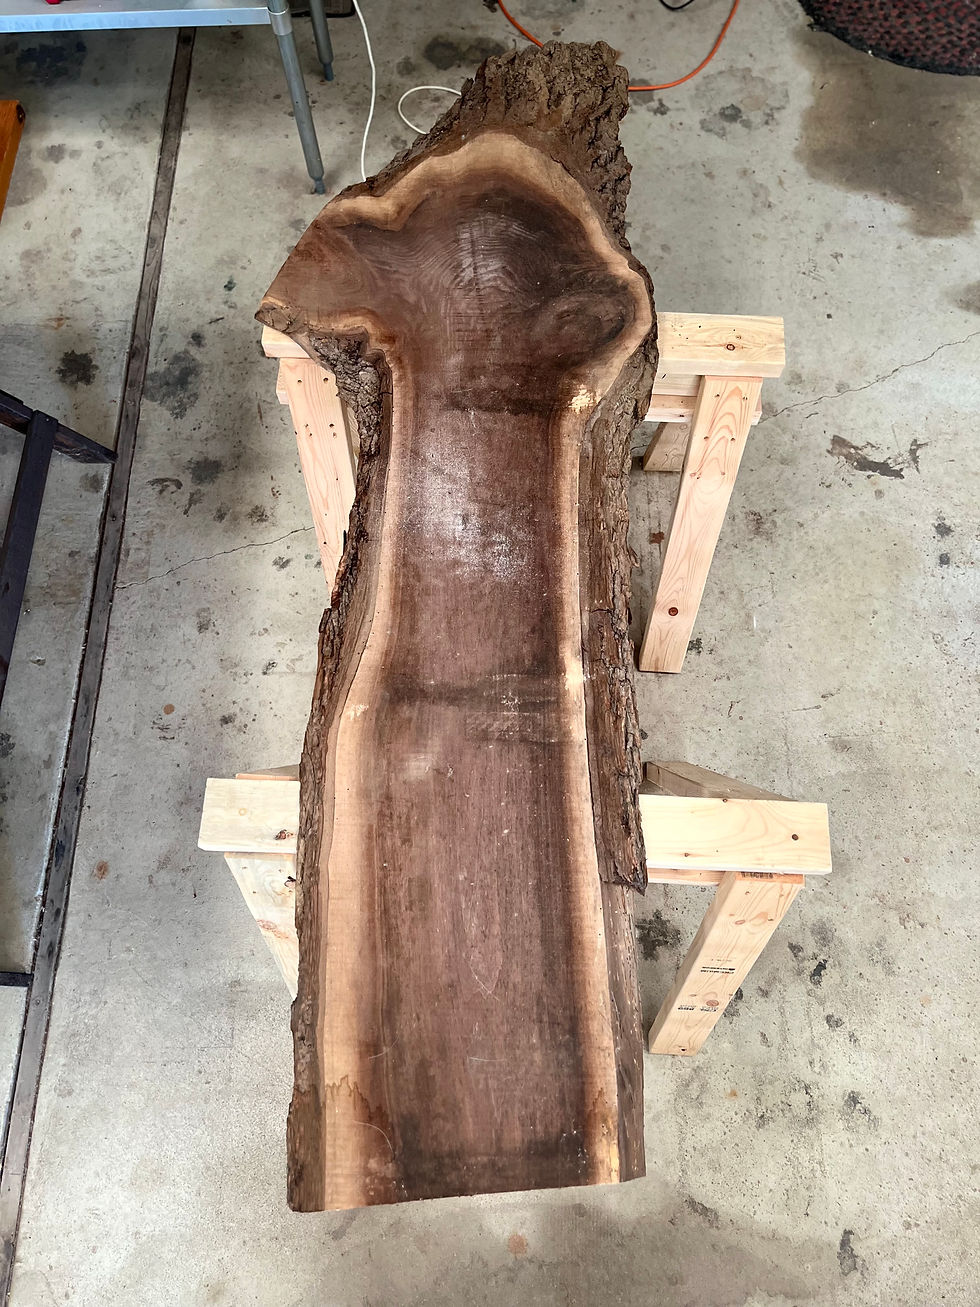
Cedar is my favorite material to work with. I’m drawn to the way it smells, its color, and the way it finishes. But there’s a lot of beautiful wood out there, and I try to give my customers a few options, depending on what I can source. Last year, I was able to offer red and white cedar, oak, and walnut thanks to a local connection I made here in Michigan. But today I’m using some walnut I received from my father-in-law.
Around 1987, he was clearing a lot for a landscaping project and, being a carpenter himself, couldn’t let such nice material go to waste. He had the walnut milled by Martin Guitars in Nazareth, PA (since they happened to have a 36” bandsaw). At the time, he probably didn’t think his son-in-law, the taxidermist, would be using it 38 years later!
Step 2: Sizing and pattern design
Most of the plaques I create are for euro mounts. But last fall, I had a customer request one for a shoulder mount, which I’ve always wanted to do. When it came time to design a larger plaque template, I tapped my dad for some help. Like my father-in-law, he’s also an experienced woodworker, so I gave him the specs and he did the math. Having some help when things are busy saves me time, and it gives my dad and me a chance to do something together.

3. Planing and gluing
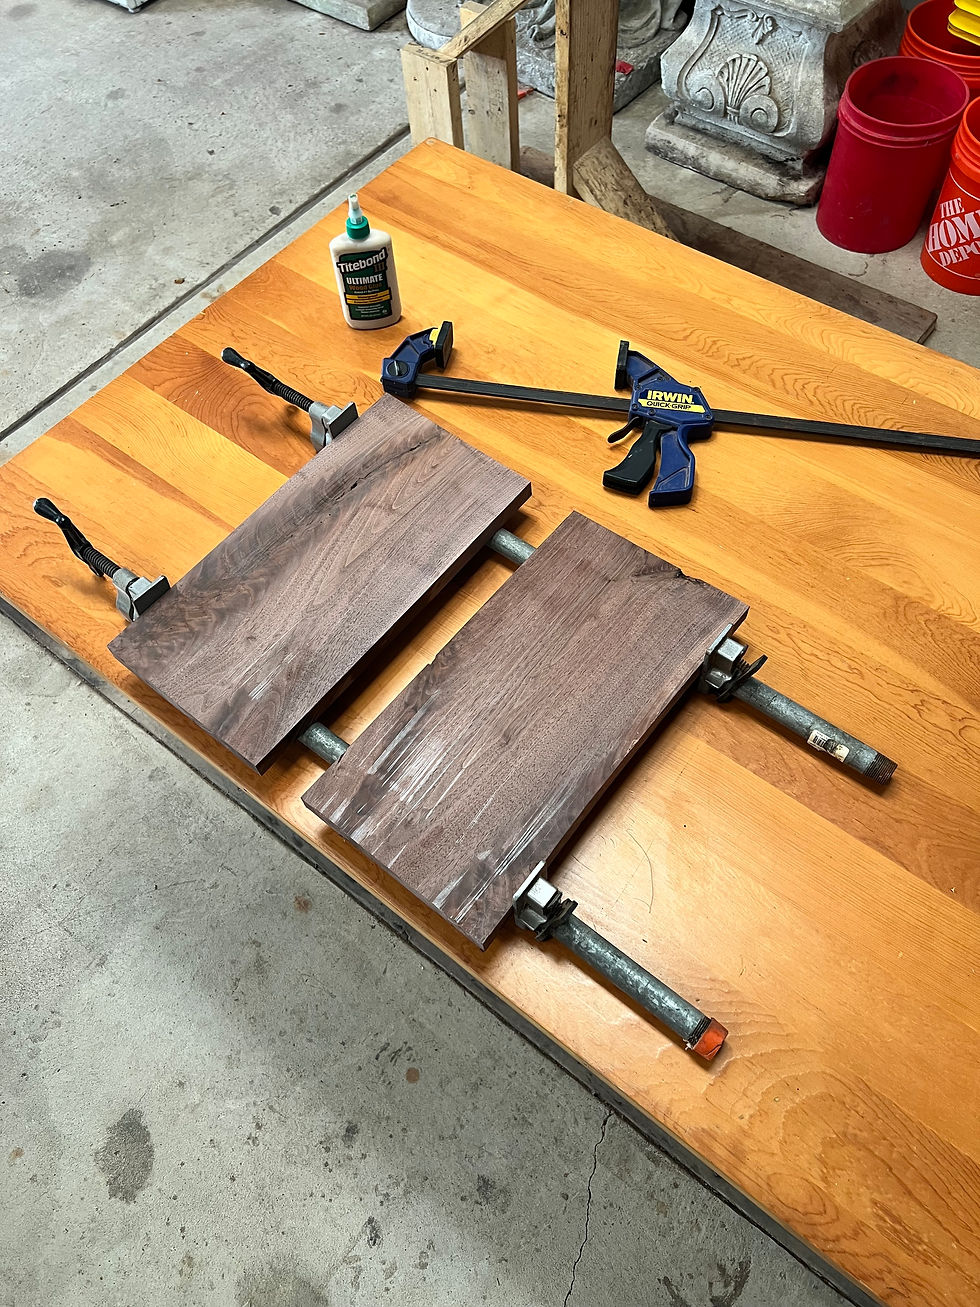
Before I can trace and cut the pattern, I have to plane the wood to the right thickness. Most of the plaques I create are about ¾ of an inch thick. Here, I’m starting with the lumber that the guitar company milled to just over an inch, so I run it through the planer several times. Then I combine two pieces to give me a bigger footprint to work with. The pieces are glued and clamped together to dry overnight.

5. Tracing and cutting
This is when things start to take shape, literally. I sketch around the template, giving myself a buffer, and then use a jigsaw to cut it out.

6. Sanding and sealing
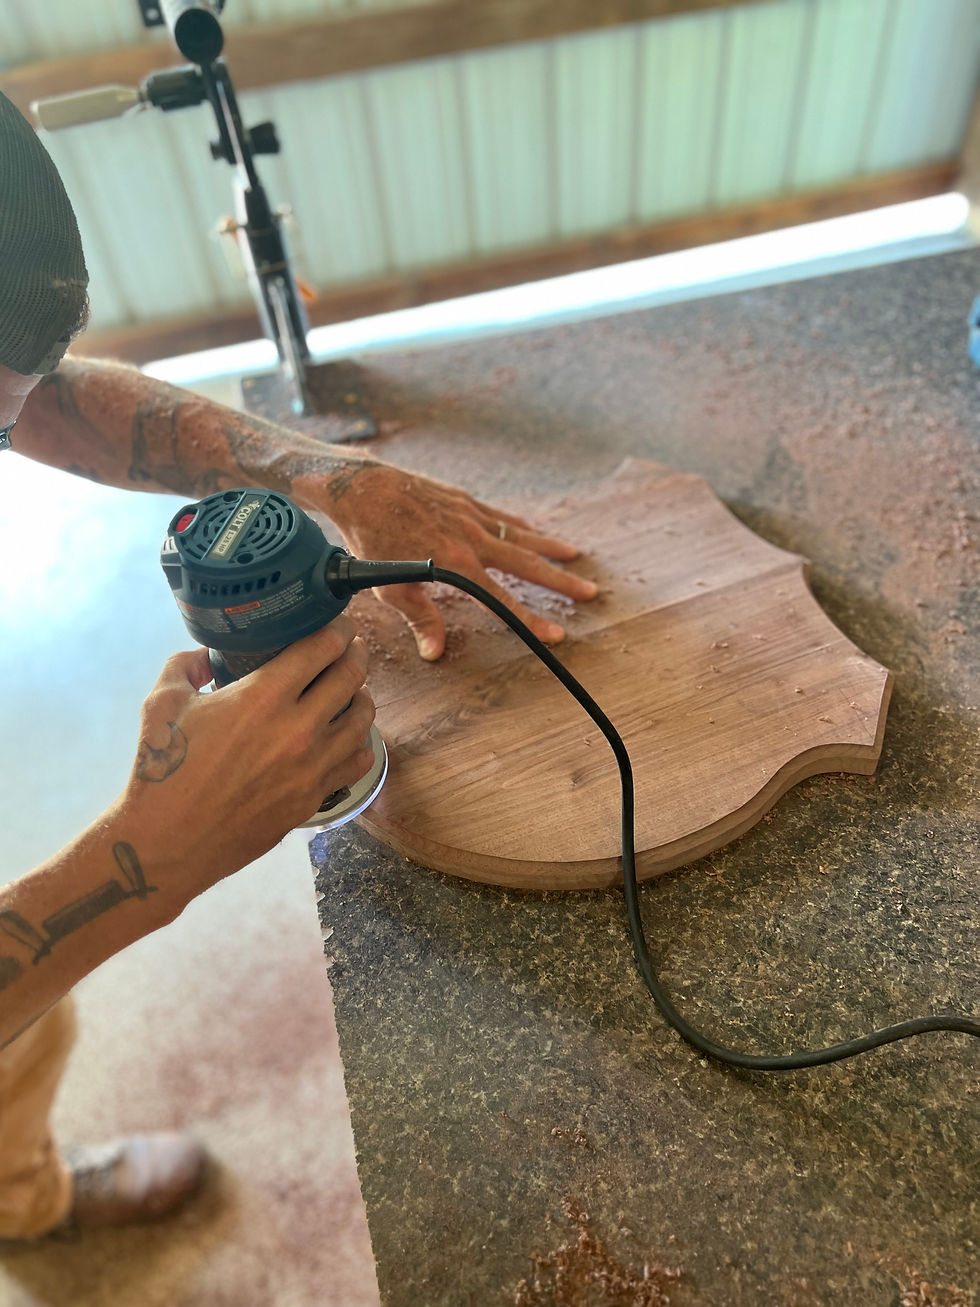
Next, I use a spindle sander to smooth the edges of the plaque before routering. Then, I go over the face of the plaque with an orbital sander, using several grades of sandpaper. I also drill my holes for hardware at this point. The final step before mounting is to seal the wood, and I use tung oil to bring out the natural grain.


Final thoughts
Like most things, taxidermy trends ebb and flow. But no matter what I’m working on, it’s nice to have support from family, and this project provided a unique opportunity for that.
Today, people can’t seem to get enough of euro mounts. But I wouldn’t mind seeing more folks do shoulder mount plaques. There’s something nostalgic about them, and it’s nice to do something different. I’m excited to get this one back to the customer soon!


Comments