top of page
Search


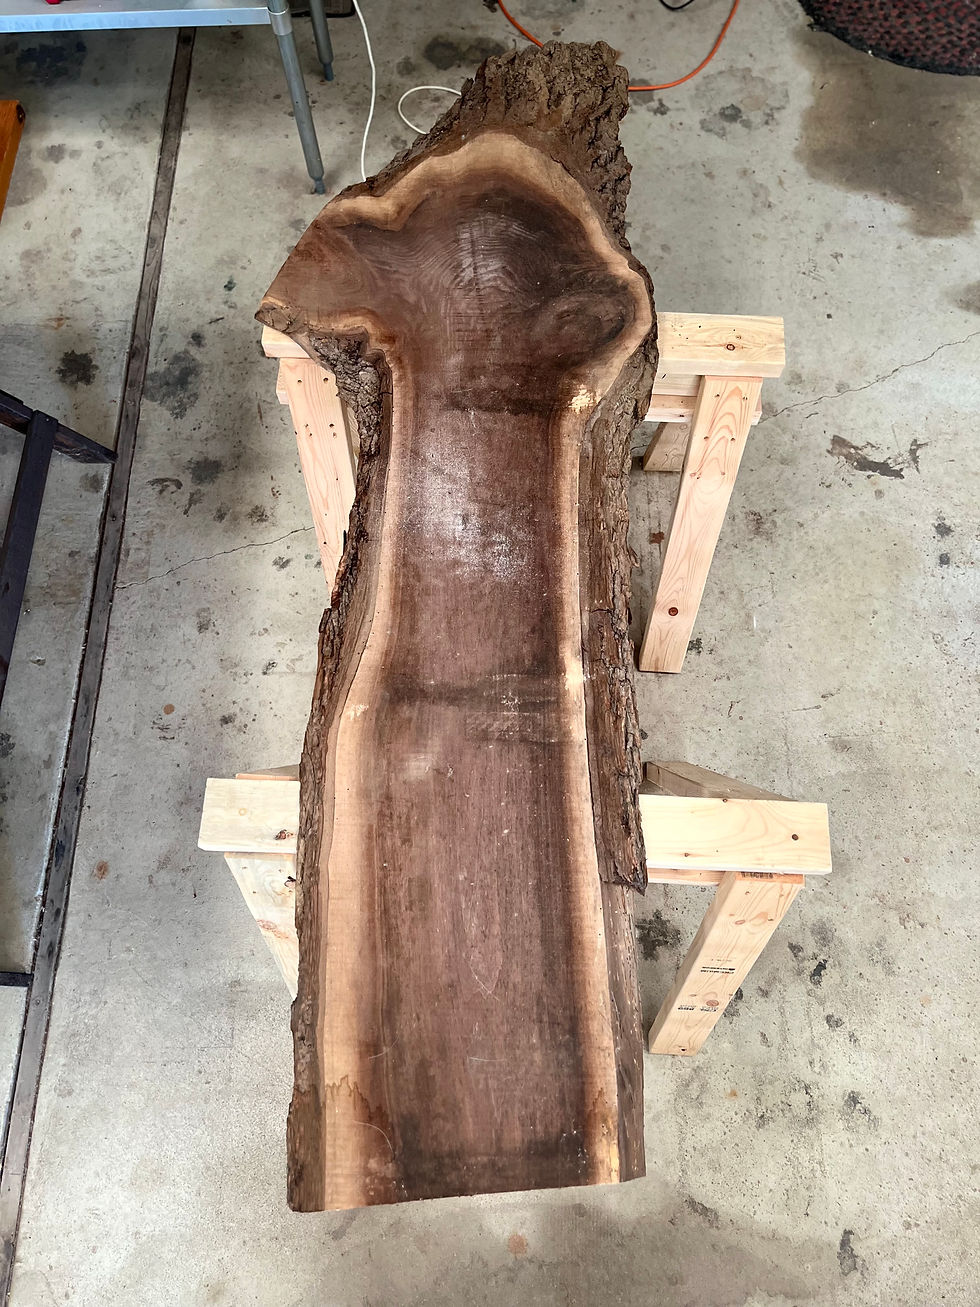
Most folks don't know it, but the word "taxidermy" is derived from ancient Greek and means "moving skin." That bit of language history really comes through in this clip, which captures me forming up a deer.


Here you see me taking a fully prepped hide, gluing it to a form, reattaching the antlers, sewing the cape, tucking the eyes and lips, etc. This is when a specimen really starts to come alive again, and it's one of the most satisfying parts of the process.


Over the next several weeks, while everything is drying, I will continue to make a series of adjustments. You're probably familiar with the standard mounting poses (upright, sneak, semi-sneak, etc.). Clients choose those at drop-off since they require specific forms.


But now is when we get to really dial in what you want the animal to convey, and you might be surprised how much of a difference small changes can make. For example, adjusting the ears even slightly can shift the focus, alertness, and even mood of the end result. It really comes down to your personal preference and the moment you want to preserve.


As I write this, we're just a few short weeks from the firearm opener here in Michigan, so I'm staying busy with the last of my 2024 mounts. As we enter one of our busiest seasons, I want to take a minute to thank the clients who make this all possible. Whether you've referred a fellow hunter, shared one of my posts, swapped stories over beers in the shop, or attended an event, the support is much appreciated, and we hope to see you again this year. Wishing you a safe and successful hunt!


  • Writer: Jeff Burnett
    Jeff Burnett
  • Sep 19
  • 3 min read

Updated: Sep 22

ree

Most hunters know how quickly things can change in the woods. You can sit quietly for hours, patiently waiting for a deer to appear. And in a matter of seconds, it’s go time, and that’s when the real work begins. 


If you’re fortunate enough to harvest an animal you want to preserve, proper field care is vital. So whether it’s your first buck or your 50th, arm yourself with some knowledge, and remember to avoid the following 5 mistakes. Trust us, your taxidermist will thank you.


  1. Temperature

    Once in a while, I’ll have someone swing by the shop, and before I even unwrap the cape, I can tell it wasn’t stored properly due to the smell. I never like having to tell someone who had their heart set on a shoulder mount that it’s a no-go. But once bacteria set in, the flesh starts to deteriorate, and the hair begins to separate from the skin. This is referred to as slip, and unfortunately, it’s not reversible. The easiest way to prevent slip is to keep your specimen cool, dry, and away from direct sunlight. 


  2. Improper storage

    Some folks can’t get to their taxidermist right away, and that’s okay. You just need to make sure you store your deer properly until you can get to the shop. Once you get your specimen home, try to get it in the freezer as soon as possible. Be sure to roll the hide hair side out, place it in a bag, and freeze it. Keep in mind that your taxidermist will need to thaw and inspect the hide for condition issues before starting your mount.


  3. Cutting too far up the neck

    Just like getting a haircut, your taxidermist can always cut away extra skin. But they can’t put it back. It’s better to have more material to work with than not enough. So for shoulder mounts, make your cut around the animal’s midsection, not the neck. This is another situation where I’ve had to tell folks that they’ll need to choose a euro mount or have me source a replacement hide, which adds to the cost.


  4. Rough handling

    Some years, I’ve had to go to great lengths to get my deer back to my vehicle, so I know what a chore it can be. I hunt in Kentucky, and the deep hollers on my property make for some pretty rough transport. But the goal is to avoid dragging the deer with a rope (or anything else). Rocks, trees, and other debris can abrade the animal's skin and coat. So, come prepared with a tarp, cart, sled, or ideally, a buddy so that you don’t damage the cape on the way to the truck. 


  5. Skull removal

    If you choose to cape your deer yourself, don’t attempt to remove the skull or antlers. Removing flesh from the eyes, lips, ears, and antler burrs is very delicate work. It's easy to make mistakes without the proper tools and technique. So save yourself some trouble and let your taxidermist handle that part of the process.


Like other aspects of hunting, a little preparation can give you more confidence in your field care. If you take your time and follow the advice we’ve shared here, you’ll most likely arrive at the shop with a specimen in great shape. And if you have questions, don’t hesitate to reach out. From pre-season prep to pickup, we’re here to help you have a successful hunt.


  • Writer: Jeff Burnett
    Jeff Burnett
  • Aug 8
  • 3 min read

Woodworking has been a part of my life for almost as far back as I can remember. Growing up, my dad always had a wood shop, and I eventually took up the craft myself. I came to enjoy the slow, methodical process of taking something rough and raw and turning it into something beautiful. In a way, it’s not unlike taxidermy.


Whenever I can, I put my woodworking skills to use making my own plaques. The process provides a nice change of pace for me, and my customers seem to appreciate the end result. So here’s another behind-the-scenes look at what I’m working on, a shoulder mount plaque I created with a little help from two other woodworkers in my family. 


Step 1: Sourcing 


Cedar is my favorite material to work with. I’m drawn to the way it smells, its color, and the way it finishes. But there’s a lot of beautiful wood out there, and I try to give my customers a few options, depending on what I can source. Last year, I was able to offer red and white cedar, oak, and walnut thanks to a local connection I made here in Michigan. But today I’m using some walnut I received from my father-in-law. 


Around 1987, he was clearing a lot for a landscaping project and, being a carpenter himself, couldn’t let such nice material go to waste. He had the walnut milled by Martin Guitars in Nazareth, PA (since they happened to have a 36” bandsaw). At the time, he probably didn’t think his son-in-law, the taxidermist, would be using it 38 years later! 

ree

Step 2: Sizing and pattern design


Most of the plaques I create are for euro mounts. But last fall, I had a customer request one for a shoulder mount, which I’ve always wanted to do. When it came time to design a larger plaque template, I tapped my dad for some help. Like my father-in-law, he’s also an experienced woodworker, so I gave him the specs and he did the math. Having some help when things are busy saves me time, and it gives my dad and me a chance to do something together.

ree

3. Planing and gluing


Before I can trace and cut the pattern, I have to plane the wood to the right thickness. Most of the plaques I create are about ¾ of an inch thick. Here, I’m starting with the lumber that the guitar company milled to just over an inch, so I run it through the planer several times. Then I combine two pieces to give me a bigger footprint to work with. The pieces are glued and clamped together to dry overnight.

ree
ree

5. Tracing and cutting


This is when things start to take shape, literally. I sketch around the template, giving myself a buffer, and then use a jigsaw to cut it out.

ree

6. Sanding and sealing


Next, I use a spindle sander to smooth the edges of the plaque before routering. Then, I go over the face of the plaque with an orbital sander, using several grades of sandpaper. I also drill my holes for hardware at this point. The final step before mounting is to seal the wood, and I use tung oil to bring out the natural grain. 

ree
ree
ree
ree

Final thoughts


Like most things, taxidermy trends ebb and flow. But no matter what I’m working on, it’s nice to have support from family, and this project provided a unique opportunity for that. 


Today, people can’t seem to get enough of euro mounts. But I wouldn’t mind seeing more folks do shoulder mount plaques. There’s something nostalgic about them, and it’s nice to do something different. I’m excited to get this one back to the customer soon! 


ree


bottom of page